


Flooring can completely transform a space. Whether you’re upgrading a home garage, a workshop, or a commercial area, interlocking floor tiles offer a durable and stylish solution. The best part? You can install them yourself with ease—or, if you prefer, leave it to our professional installation team. This guide walks you through everything you need to know about DIY installation, focusing on garage flooring, rubber tiles, and PVC floor tiles.
Introduction to Interlocking Floor Tile Installation
Why Choose Interlocking Floor Tiles?
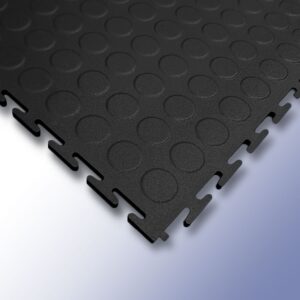
Interlocking tiles from Cape Lock Tiles are precision-engineered with edges that snap together like puzzle pieces. They don’t require glue, nails, or adhesives, which makes them one of the easiest flooring systems to install. Perfect for garages, gyms, and workshops, they combine strength with modern style.
👉 Explore:
Step-by-Step Guide: Interlocking Floor Tiles Installation
Step 1: Preparing the Floor Surface
Ensure your floor is clean, dry, and free of dust or oil.
Step 2: Planning the Layout
Measure the room and snap a chalk line down the center.
Step 3: Starting the First Row
Begin in one corner and work outward, locking tiles securely.
Step 4: Connecting the Tiles
Use a rubber mallet to gently tap each tile into place.
Step 5: Cutting & Fitting Edge Pieces
Trim edge tiles with a utility knife or tile cutter.
Step 6: Final Inspection
Check for gaps, wipe down the floor, and enjoy your new surface.
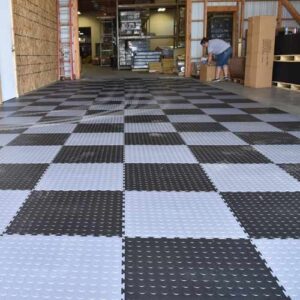
Garage Floor Installation with Interlocking Tiles
Advantages of Using Tiles in the Garage
-
Resistant to oil, chemicals, and stains
-
Withstand heavy vehicles and tools
-
Easy to replace individual tiles if damaged
For heavy-duty garage setups, browse our Garage Flooring Solutions designed for long-lasting durability.
Professional vs DIY Installation Services
DIY saves money, but professional installation ensures perfection. If you want to skip the hassle, Cape Lock Tiles also offers installation assistance—ideal for commercial garages or large-scale projects.
Maintenance & Care of Interlocking Floor Tiles
-
Sweep and mop regularly with mild soap
-
Wipe spills quickly, especially oils
-
Replace damaged tiles easily without disturbing the rest
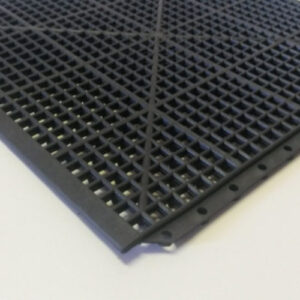
Looking for extra protection? Check out our Rubber Mats Collection—great for adding safety and comfort in high-traffic areas.
FAQs on Interlocking Floor & Garage Tile Installation
Q1. How long does it take to install interlocking floor tiles?
Most garages can be completed in 3–5 hours.
Q2. Do I need adhesives or glue?
No, our tiles lock together securely without adhesives.
Q3. Can I park my car on them?
Yes—our PVC garage tiles are designed for vehicle weight.
Q4. Are interlocking tiles waterproof?
Yes, they’re water-resistant and ideal for garages and basements.
Conclusion: Transform Your Space with Interlocking Floor Tiles
DIY installation is quick, cost-effective, and satisfying. But if you’d rather not get your hands dirty, we’ve got you covered with professional installation services.
Ready to upgrade your floors?
👉 Shop our full range of interlocking flooring solutions today.
👉 Transform your garage with PVC Garage Floor Tiles.
👉 Add comfort and grip with Interlocking Rubber Tiles.
👉 Explore all options in our Garage Flooring and Rubber Mats categories.
📞 Contact Cape Lock Tiles today via our website and let’s create the perfect flooring solution for your space!